

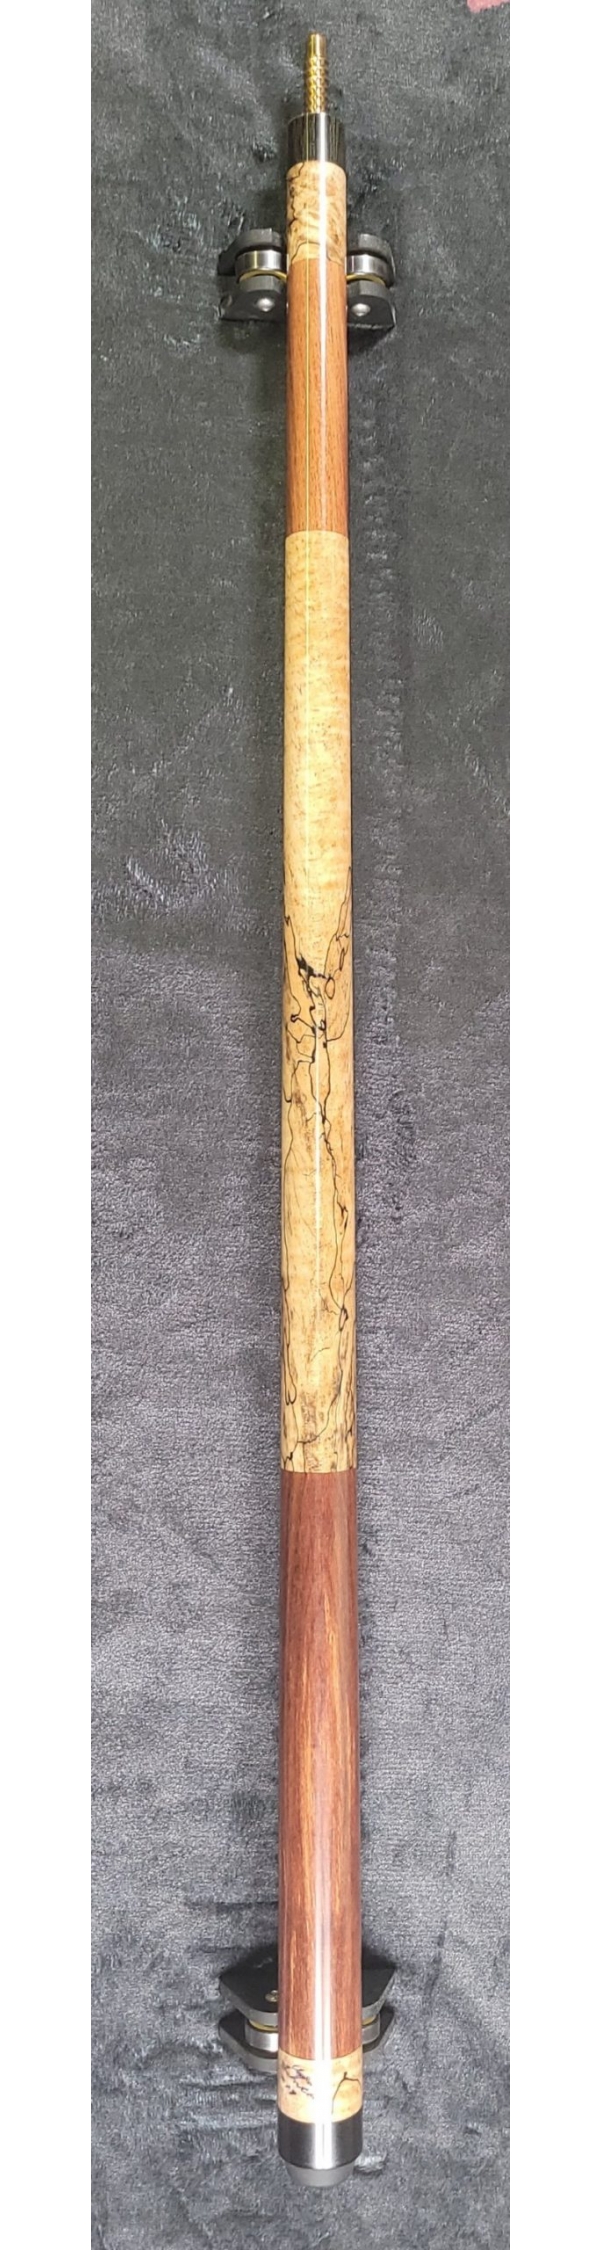
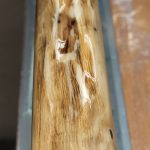
As shown, the stick is sanded with 180 grit, just enough to get it about where it’ll be in its final shape, and coated with a couple quick coats of CA glue to show the color as it will appear under the finish. (Not at all concerned about the shine at this point. The CA glue is coming off before the next step.) I used 180 grit to avoid polishing the wood with sandpaper and making it harder to absorb future dye/epoxy.

Everything but the inches next to the joint is the right size. I cut the joint area while the shaft and butt are assembled to get the lines straight and smooth to the touch — so I leave that section a little over size and blend the tapers from the joint end the last thousandths. I’m still tapering the old school way, adjusting the cut by hand as the power feed advances the cutter. It’s a lot easier than it sounds, with a little practice. Just monitor the depth of the cut by watching the cutter advance on the stick, and also the rotation of the dial as the feed advances, and deepen the cut at a consistent rate as the cutter moves across the stick.
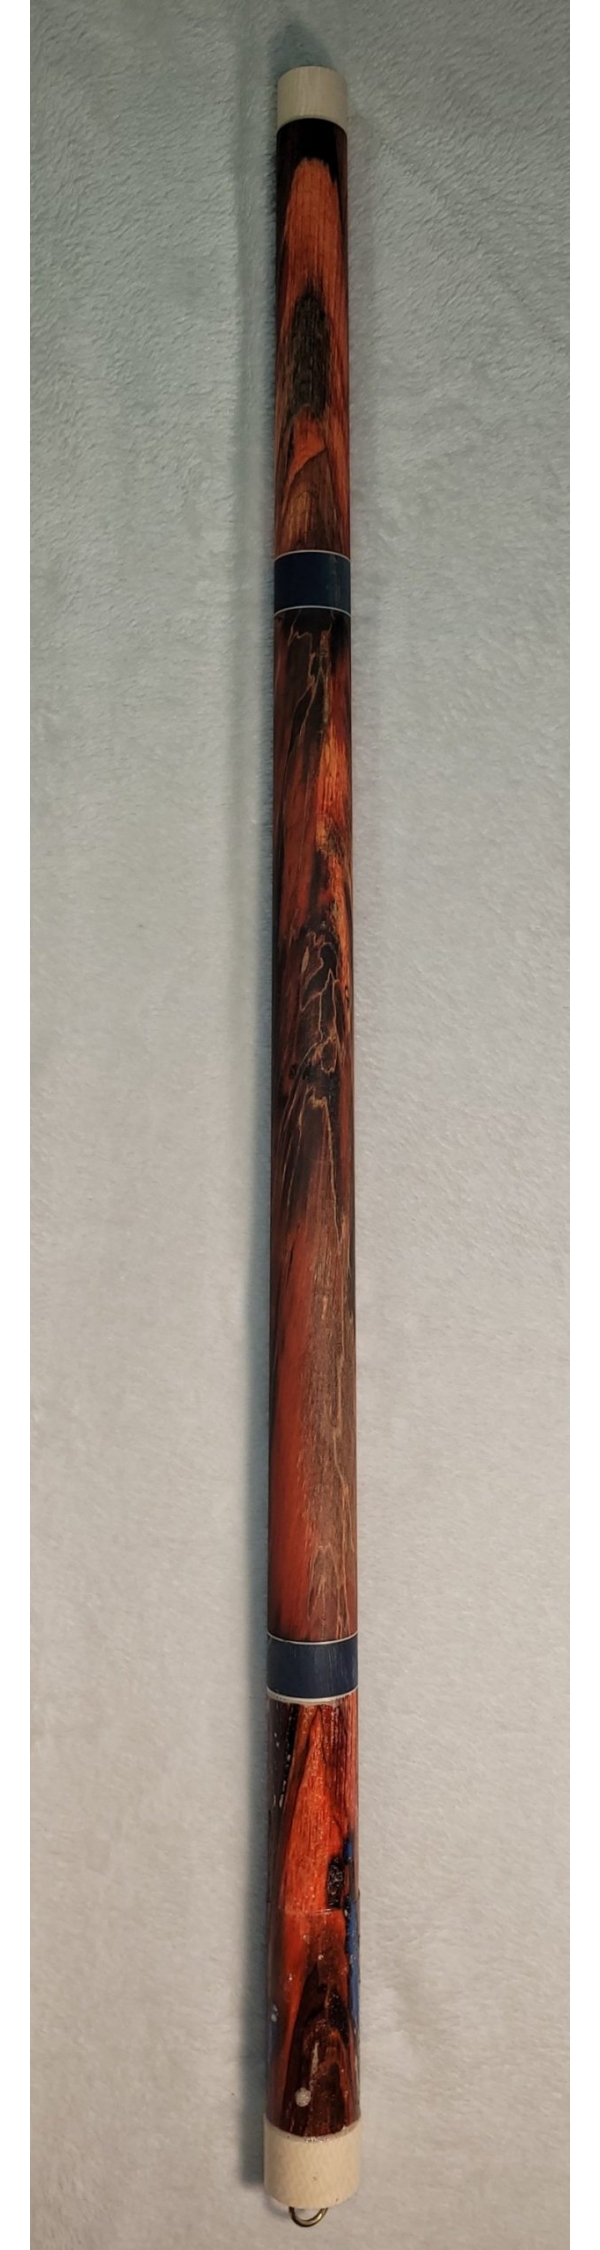
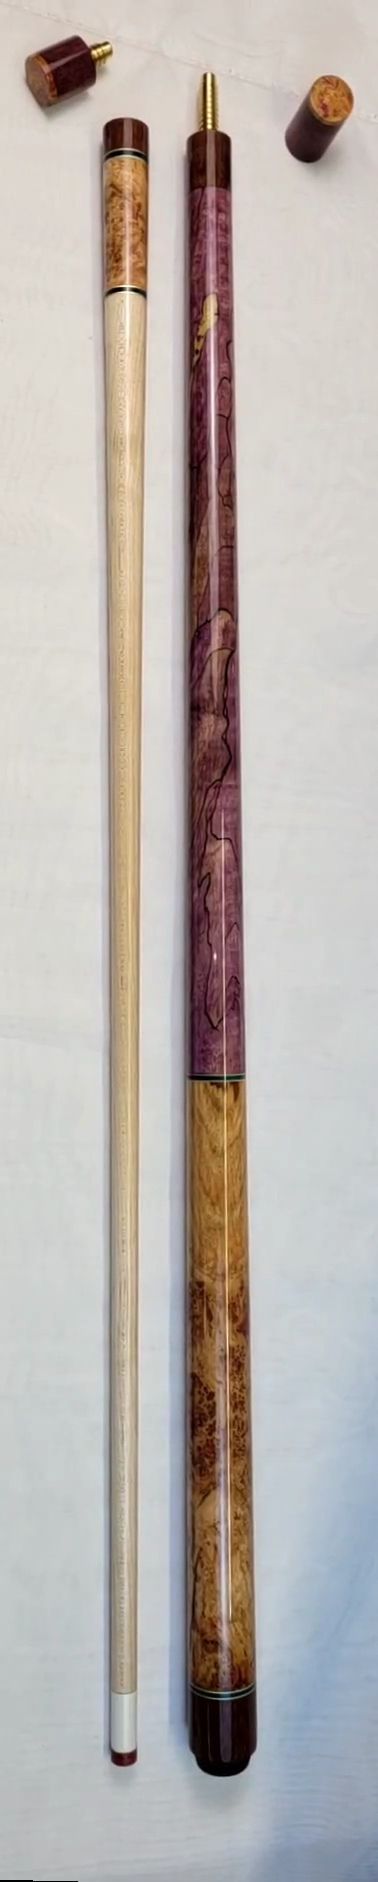
Stick 21 has blue and brown amid the purple. If that isn’t what Dennis wants, we’ll add purple to those areas before moving on.
If Dennis likes the brown and blue, or if we add purple dye to balance the color, the next step afterward is to apply a coat of epoxy that also has purple dye. The next sanding will remove most of the epoxy, but the colored stuff in the outermost pores will stay, and the whiter sections will have slim purple streaks and the entire stick will have a more coherent color scheme.
So Dennis, what say you? Like the blue and brown that found its way in your wood? Or prefer a color adjustment?
-
 Stick #024 “Miss Sarah Phim”Price range: $899.00 through $1,024.00
 -
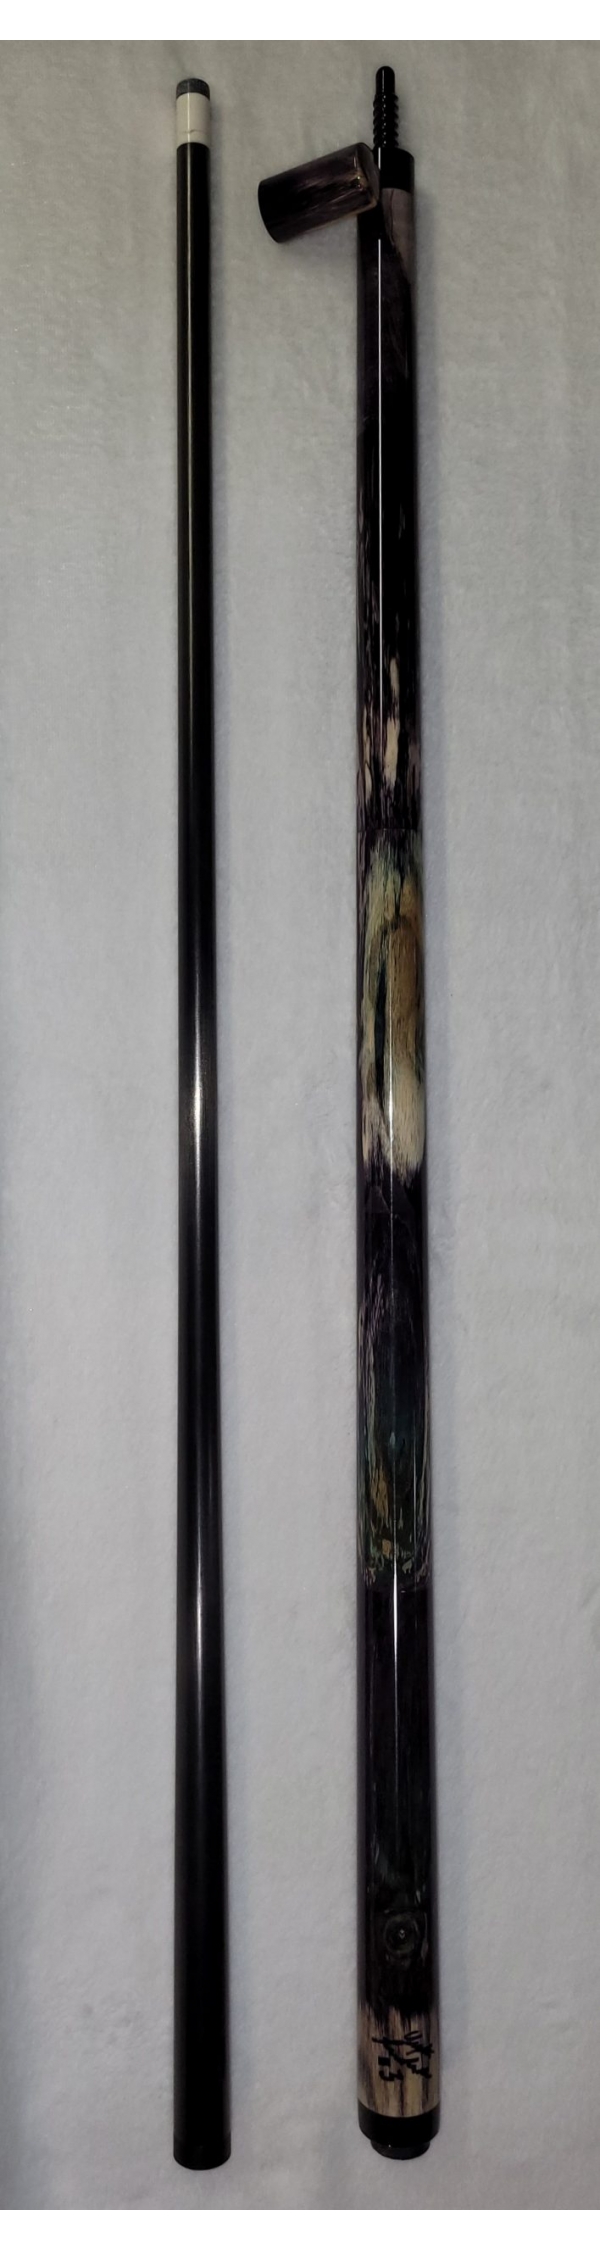
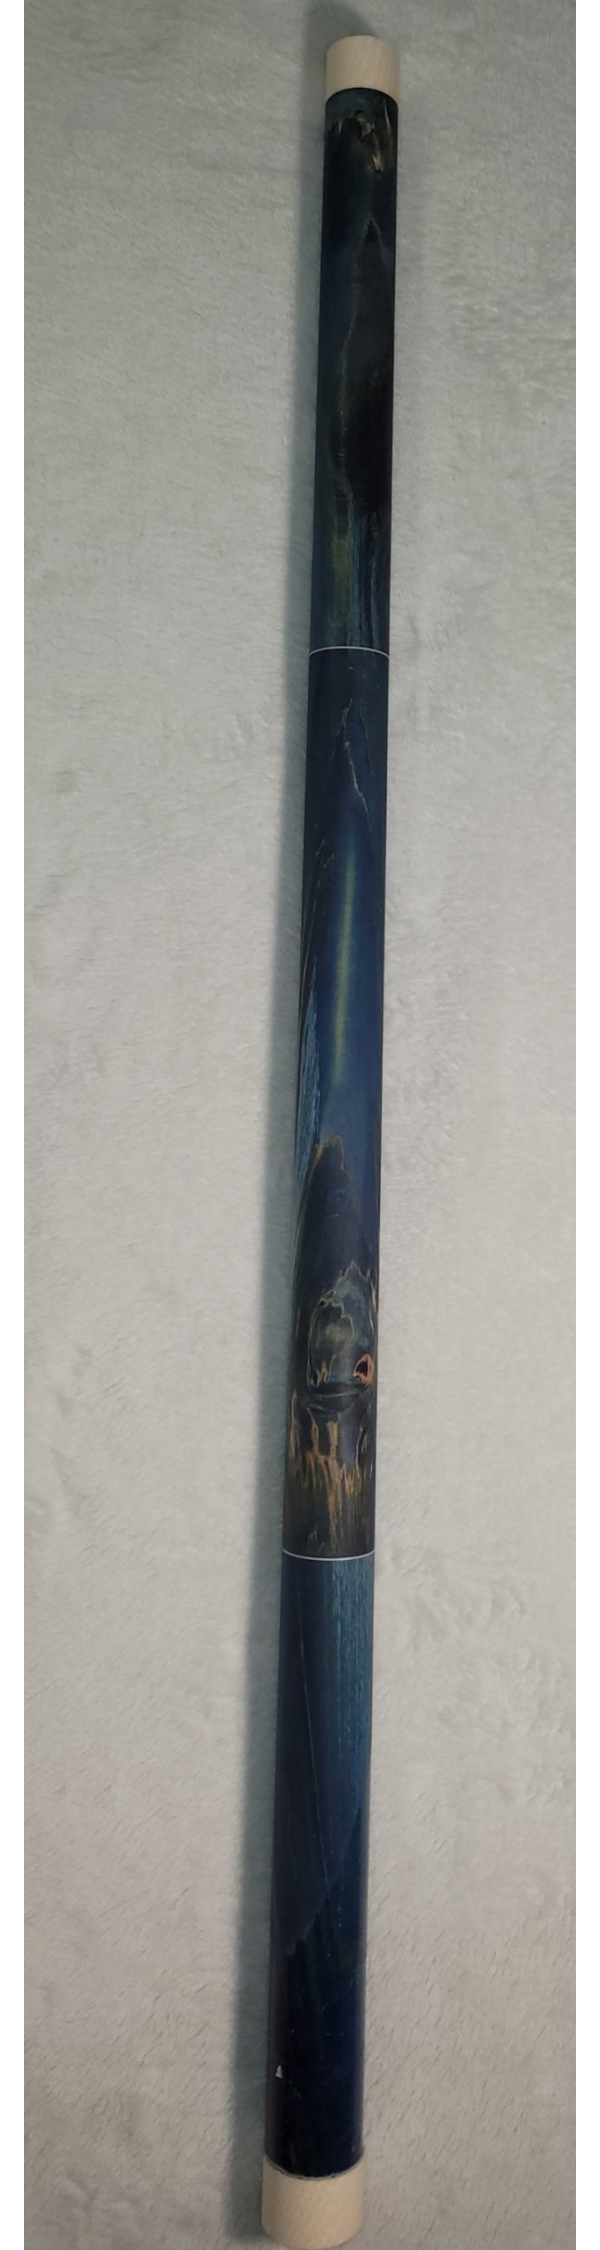 Stick #023 “Pale Horse”Price range: $899.00 through $1,349.00
 -
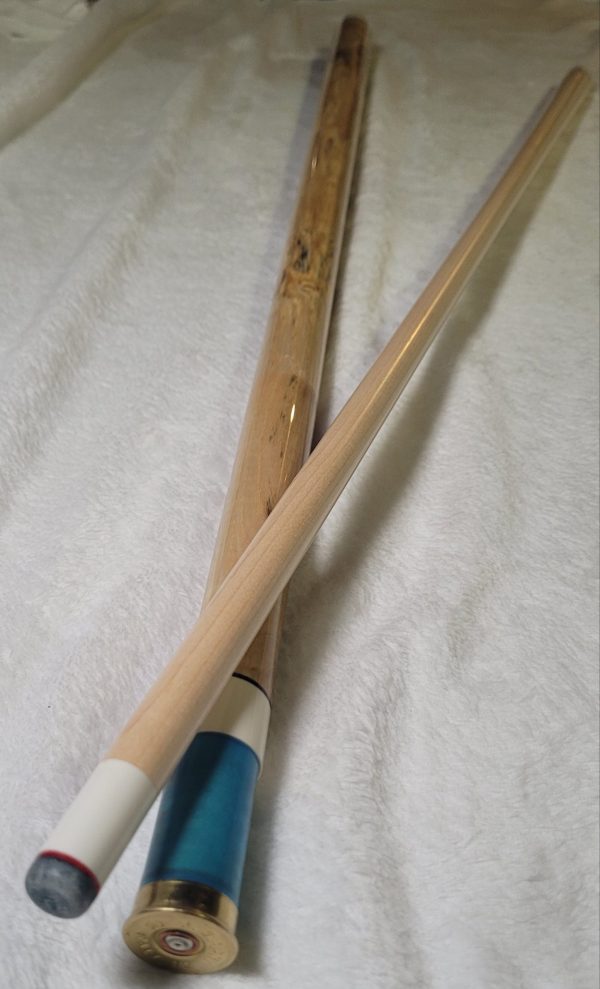 Stick #020 “Plain Ash Stick”$499.00
 -
 Stick #021 “Bob” aka “Black Orange Black”$999.00
 -
 Stick #019 “Seraphim”Price range: $799.00 through $999.00
 -
 Stick #003: Dennis’ Stick (Purchased)$899.00
 -
 Stick #001 Purple Object Ball Eater$899.00


Leave a Reply